
Our meeting on Thursday 5th September was organized by Barry Cumming, Barry’s theme for the meeting was making Captive Rings on our turnings. These are usually found on turnings that are between centres, things like Babies Rattles, Goblets , Wooden Mushrooms and various other turnings.
As a specific tool is usually required to make the rings not that many of the members had one so we were restricted to only 2 people doing the demonstrating, Barry who actually made his own tool and myself who had a Robert Sorby Captive Ring Tool. Both Barry and myself opted to make the Babies Rattle, that would give us the opportunity to put more than just one ring on the turnings.
With only 2 lathes being used for the Captive Ring turnings, Nick Simpson (training co-ordinator) reserved a lathe for a tutorial for a new member who was available for this meeting. Barry also arranged for Dave Line to man another lathe and for Dave to make wooden pens.
As I was one of the turners for this meeting Susan Drew agreed to take some pictures of the proceedings, priority for the pictures was placed on the Captive Ring turners as that was the main theme for this meeting. Here are those pictures from Susan and thanks for taking them at the most appropriate opportunity.
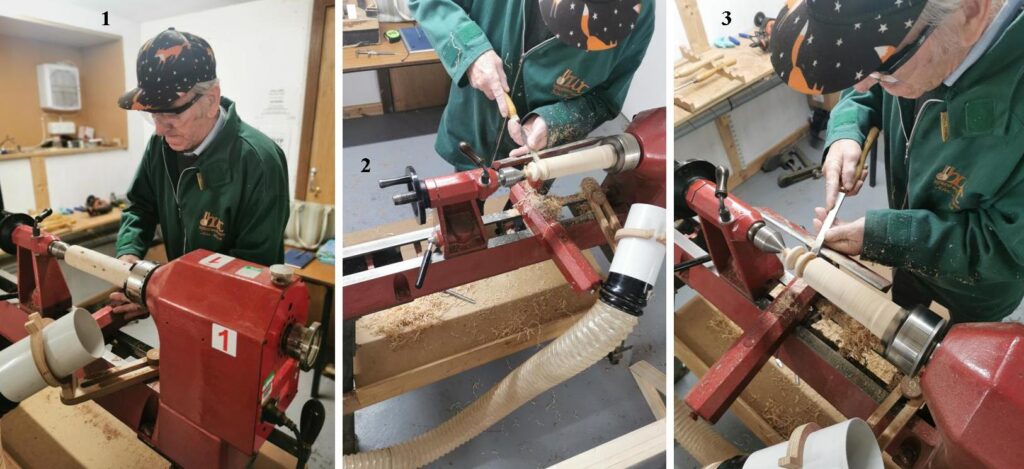
On Lathe 1, was myself making a Babies Rattle. Picture 1, shows the blank being mounted on the lathe, the wood I used was a piece of Laylandii and measured about 150mm long by about 40mm in diameter. Picture 2, forming the bead at the end of the Rattle. Picture 3, now making the first ring using the Captive Ring Tool. I liked to make the rings one at a time, so once the majority of the cut is done from both sides and a very thin membrane of wood is all that’s left to cut, sand the ring now, then do the separating cut, there will need to be more sanding after all the rings are formed.
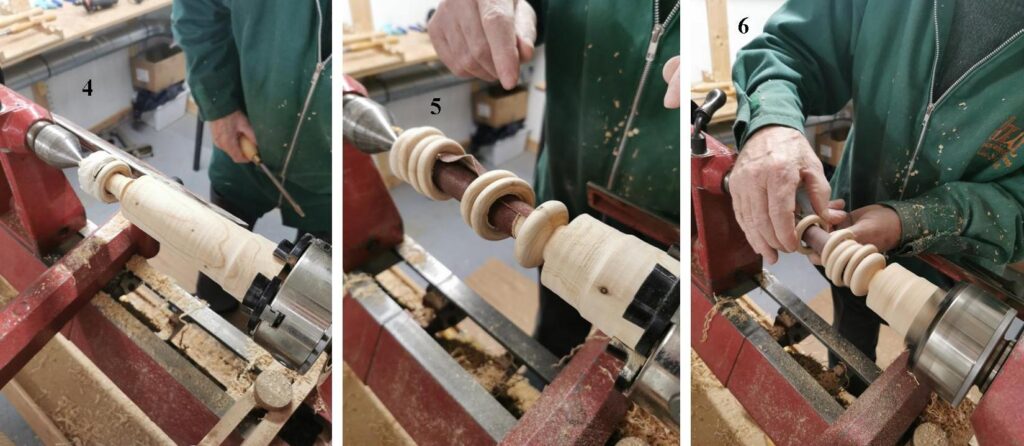
Picture 4, the first ring has been cut and moved to the end with the bead, it’s then held there by using some masking tape whilst the next ring is being formed. You will see the 2nd ring now cut and moved down to be held by the masking tape whilst the next ring is being cut. Picture 5, with all 5 rings now cut, the inner surface of the rings may require a sharp Stanley Knife to remove any of the wood not cut when releasing each ring. Sanding the inner surface is achieved by securing a piece of sanding medium to the inner shaft with a thin piece of tape, you will need to feed the sanding medium through all the rings prior to taping the ends. Picture 6, run the lathe and take hold of on of the rings and slowly turn the ring until it has been sanded all round, repeat with all 5 rings.

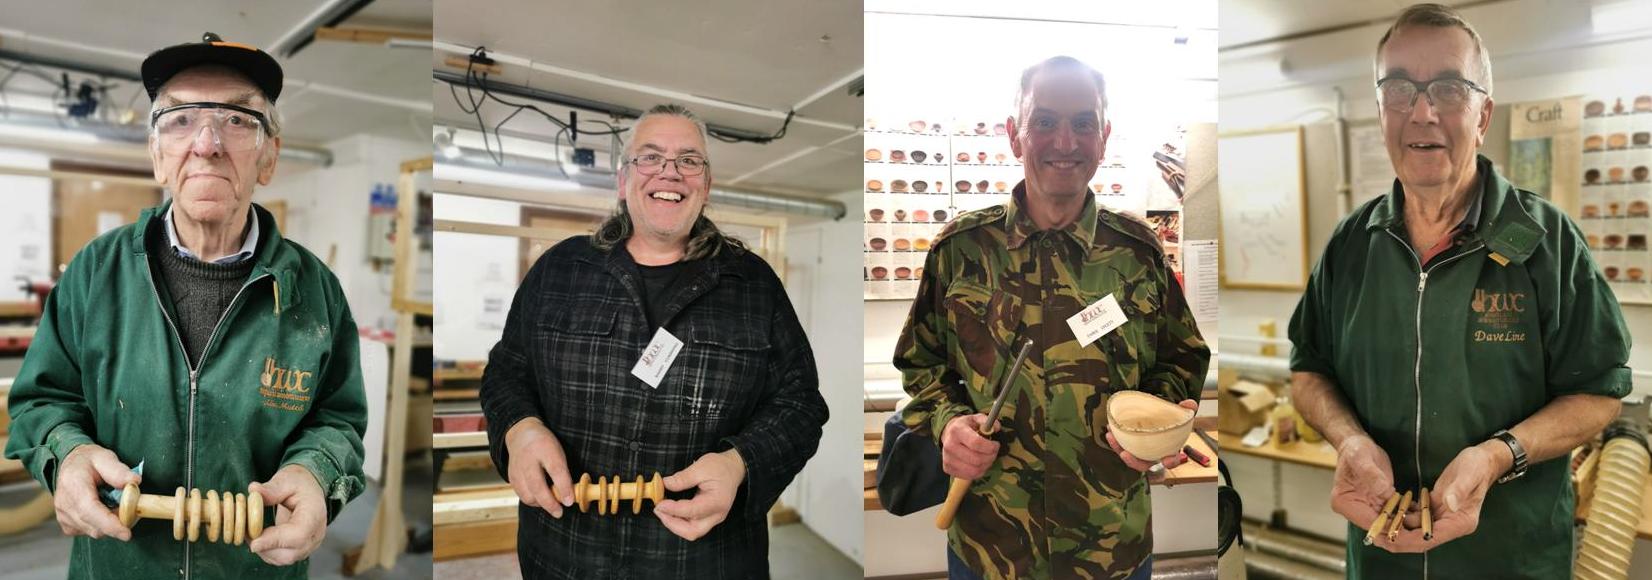
Picture 7, the finish you put on depends on what the item is being used for, if it’s a Babies Rattle a Food Safe Oil should be used, for any other use then sanding sealer or wax my be appropriate. Picture 8, here I am with my finished Babies Rattle.
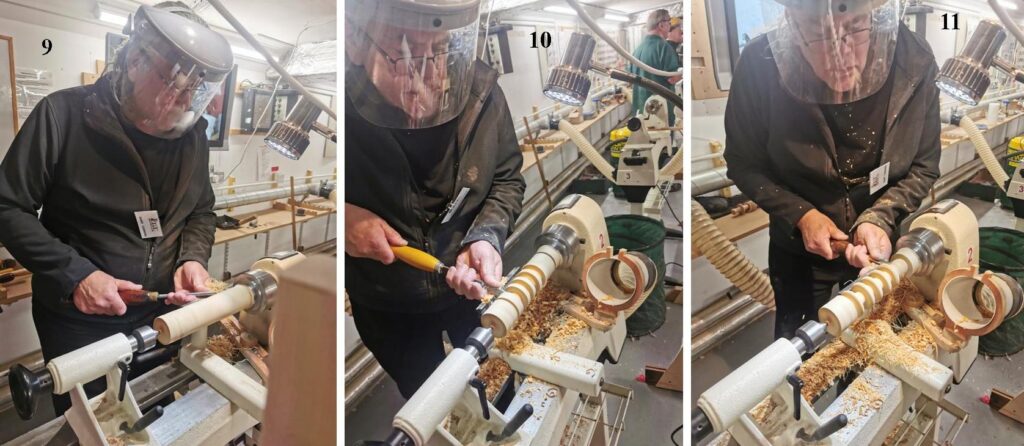
On Lathe 2 was Barry Cumming the meetings organizer, Picture 9, shows Barry making a start on his Babies Rattle. Picture 10, shows Barry making headway with all the rings, Barry opted to make all the rings in one go before sanding any of them, this method is just as affective as doing them one at a time. Picture 11, here Barry is now doing all the under cutting using his home made ring tool, allowing for sanding by not cutting all the way through.
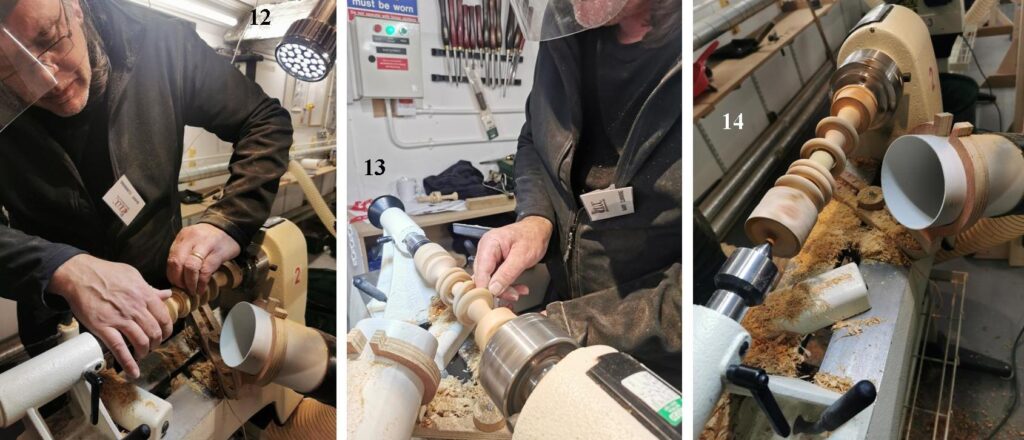
Picture 12, here Barry is sanding all the rings prior to separating them. Picture 13, Barry can be seen separating the rings from the main stem. Picture 14, 2 out of the 4 rings have been moved to the end with still 2 to release.
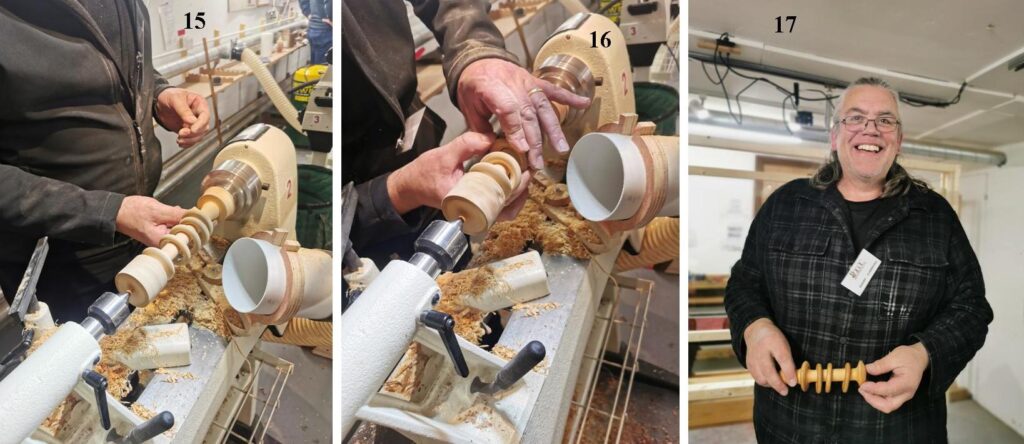
Picture 15, with all the rings now separated Barry was about to tape on the sanding medium he uses to sand the inner surface of the rings. Picture 16, with the lathe running Barry is sanding the inner face of the rings using the same method. Picture 17, Here is Barry with his finished Babies Rattle, he applied a coat of Food Safe Oil.
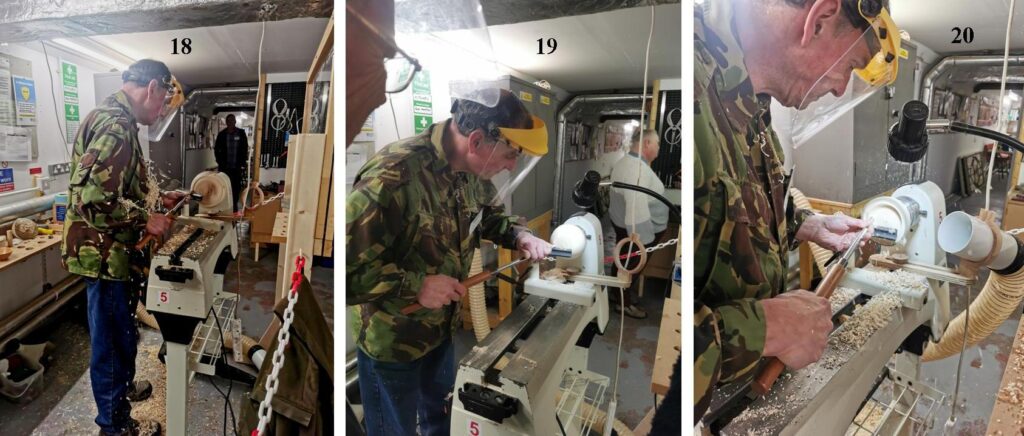
On Lathe 5 we had Chris Lycett a new member being tutored by Geoff Potter. Picture 18, shows Chris making a start on the outside of a bowl. Picture 19, the bowl taking shape. Picture 20, now shows Chris working on the inside. He had done some turning but had also encountered a problem with lightly torn grain on the inside in a couple of specific areas and wanted to know why and how to get rid of it.
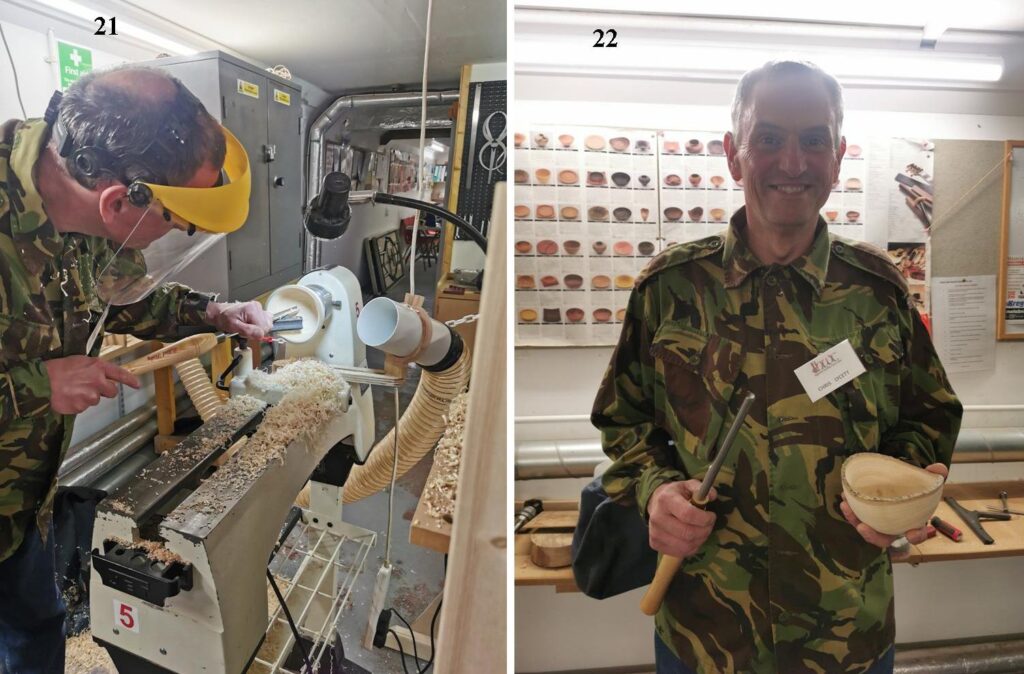
Picture 21, here Chris is at the area where his problem arises, he had ground 2 tools to suit the curve on the inside but that did not solve the problem, he was given advice on the path the tool needed to take to eliminate the problem, time will tell if it did indeed sort out his problem, we wait to see. Picture 22, shows Chris with his finished bowl, and a smile on his face, does that mean his problems have been sorted?
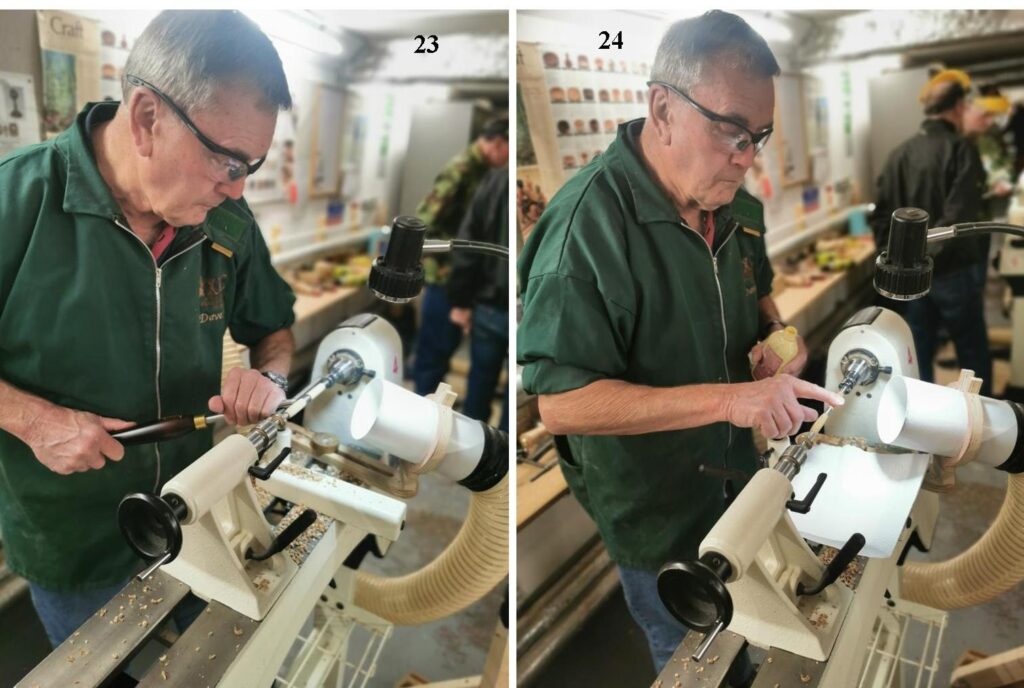
On Lathe 4 was Dave Line, Dave was brought in to man Lathe 4 working on making wooden pens, always a popular choice to make. Picture23, sees Dave working on the barrels of a pen. Picture 24, Dave is applying a finish to one of his pens.
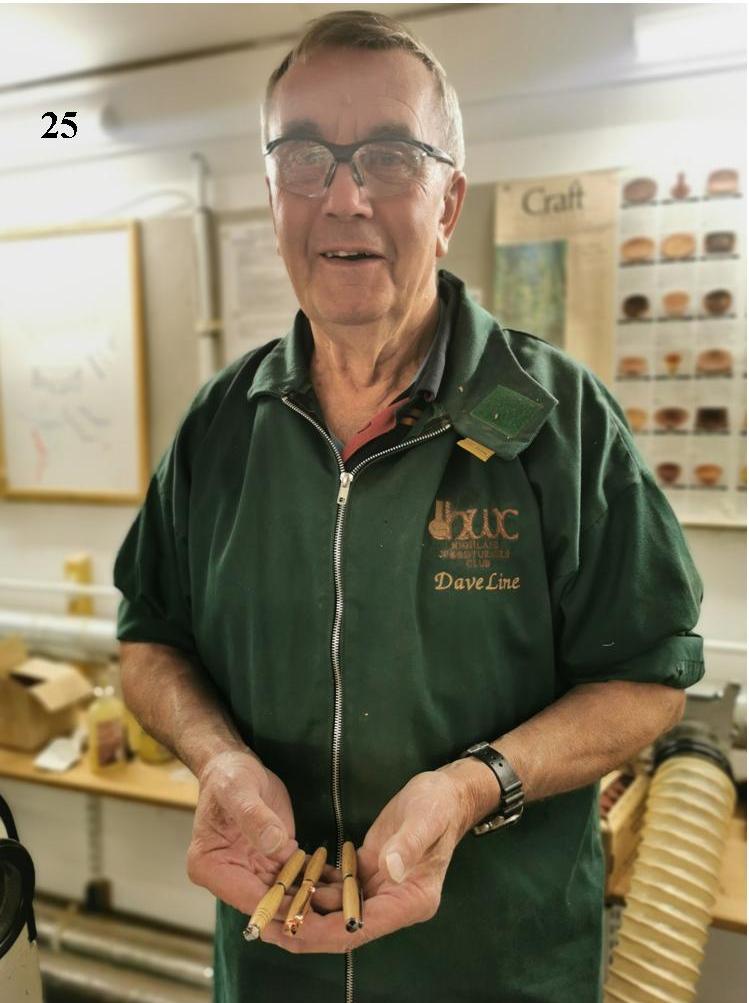
Picture 25, this is Dave Line with his finished pens, he made 3 in the time we have at the meeting. Thanks to Dave for stepping in at short notice to man one of the lathes.
That concluded the meeting, everyone present seemed to enjoy seeing the items being made.
Our next meeting is on the 19th September and is being organized by Alan Geddes, Alan has arranged for Mark Sutton to do a solo demonstration on a Christmas theme, we look forward to seeing what that is.