Our meeting on Thursday 12th October 2023 was organized by Dave Line, Dave’s theme for the evening was making wooden bowls, he had organized for 4 more turners and himself to man all the club lathes, all were to be making bowls of various descriptions.
It turned out exactly as Dave had organized with all the turners making bowls in various styles and with various timbers. Dave Line had a piece of Natural edged Beech to work on that was highly figured, Dave Hutcheson had a Sycamore blank that he turned into a very nice bowl with some decorative scorch lines near the top of the bowl, Daniel Stewart made 2 bowls, one from Cherry and one from Birch, both were worked to very thin walls and expertly executed. Peter Lawrence had a small piece of Spalted Birch that he was going to make a small bowl from, the blank had some issues due to the Spalting but he did manage to get a reasonable finish on his bowl, Richard Comfort had a large piece of Elm that he was going to turn, he wanted to leave as much of the outside in it’s natural state as it had a lot of interesting features, the inside he would work as a normal bowl, excepting that he may produce some penetrations in the process, it turned out very well.
I took a few pictures of the turners as they worked, I hope this gives you a little insight into how everything went, here are those pictures.
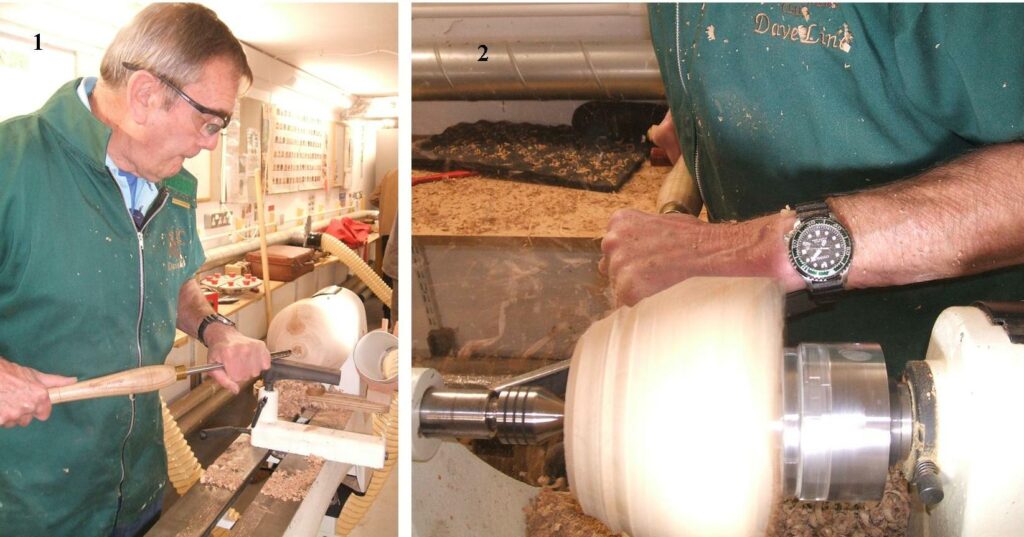
Picture 1, here is Dave Line as he makes a start on his project, working a piece of Natural edged Beech. Picture 2, the outside of his bowl being worked and progressing well.
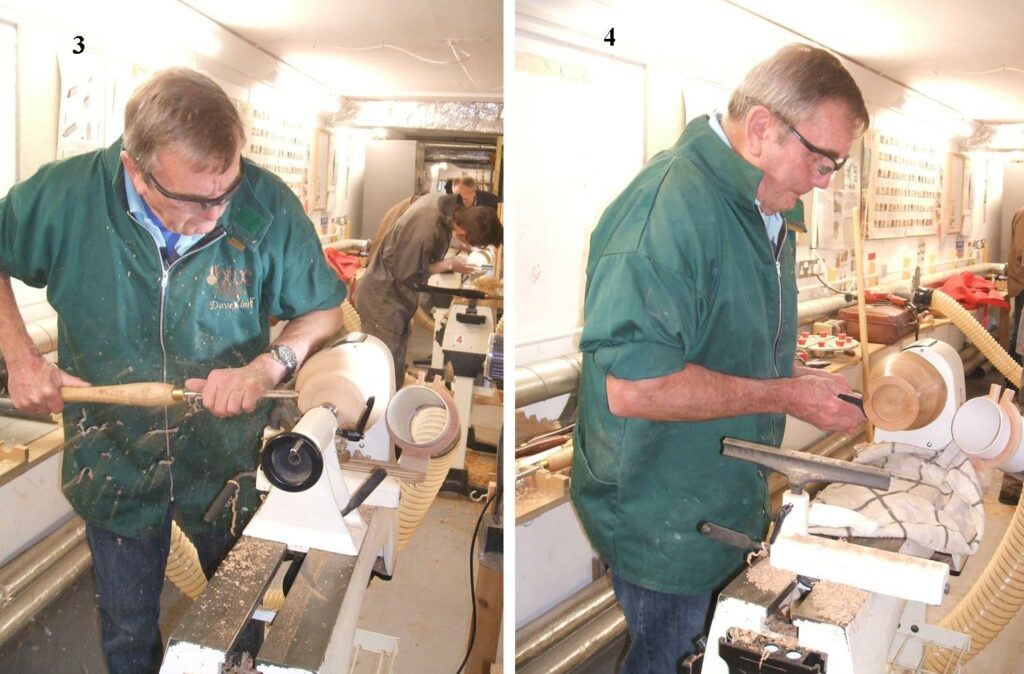
Picture 3, the outside nearing completion, Dave is working on the foot, chuck recess still to do. Picture 4, the outside being finished, Dave sealed the bowl before applying a coat of Hampshire Sheen wax polish.
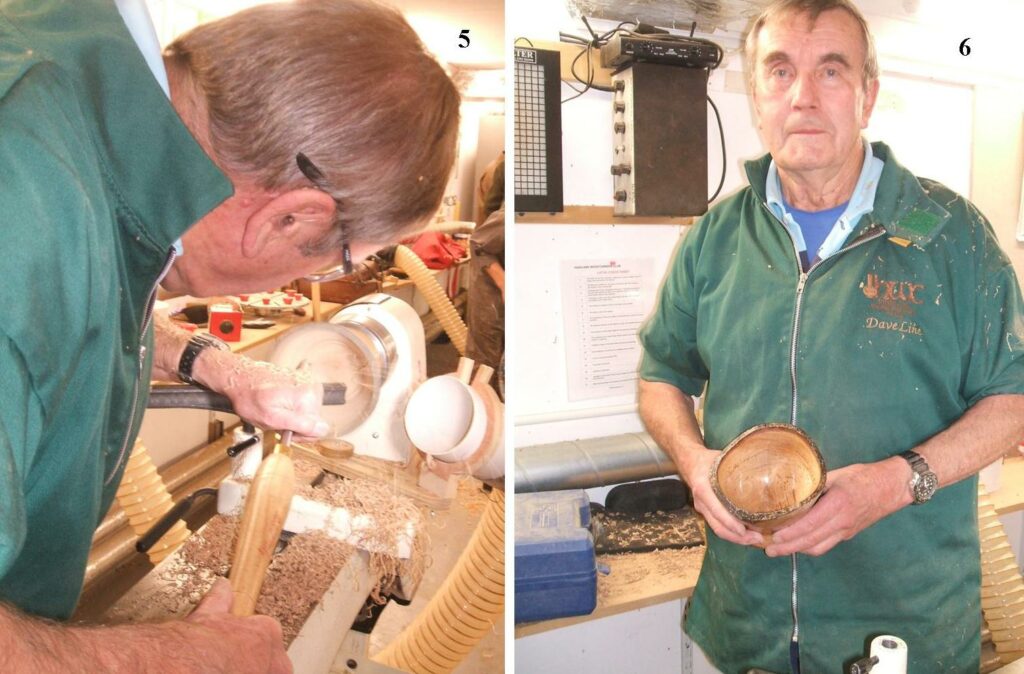
Picture 5, the inside being worked, some discussions took place about the width of the Natural Edge being left on the rim, Dave did get it down to what was considered the desirable width before sanding and polishing the bowl. Picture 6, here Dave is holding his finished bowl complete with a uniform Natural Edge all round the rim.
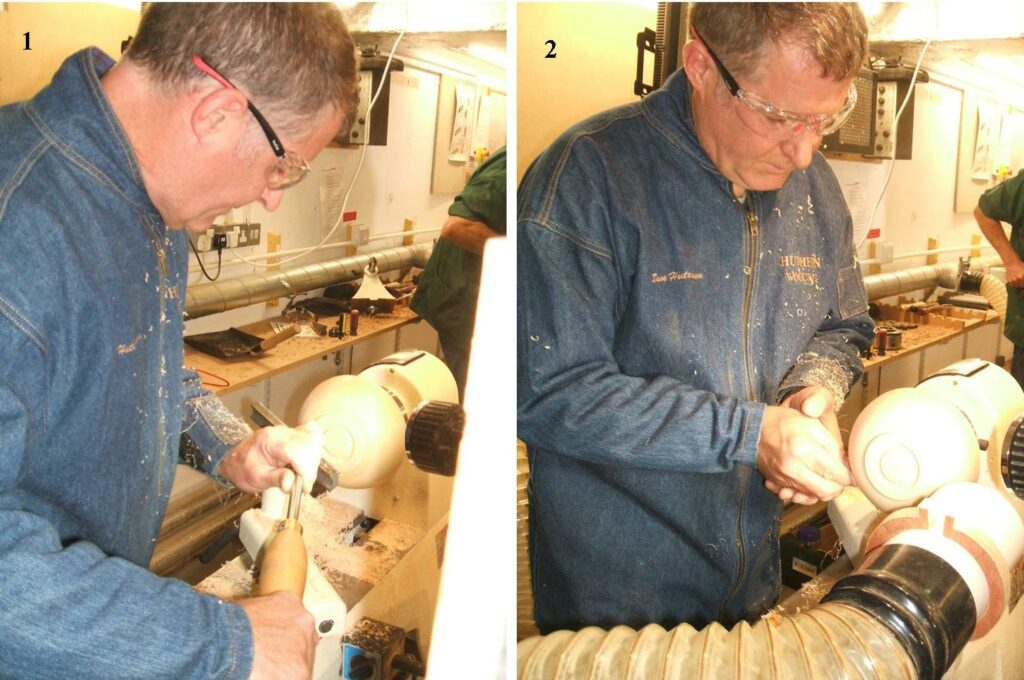
Picture 1, here we have Dave Hutcheson working the outside of a bowl he is making from a piece of Sycamore. Picture 2, shows Dave sanding the outside prior to sealing and polishing.
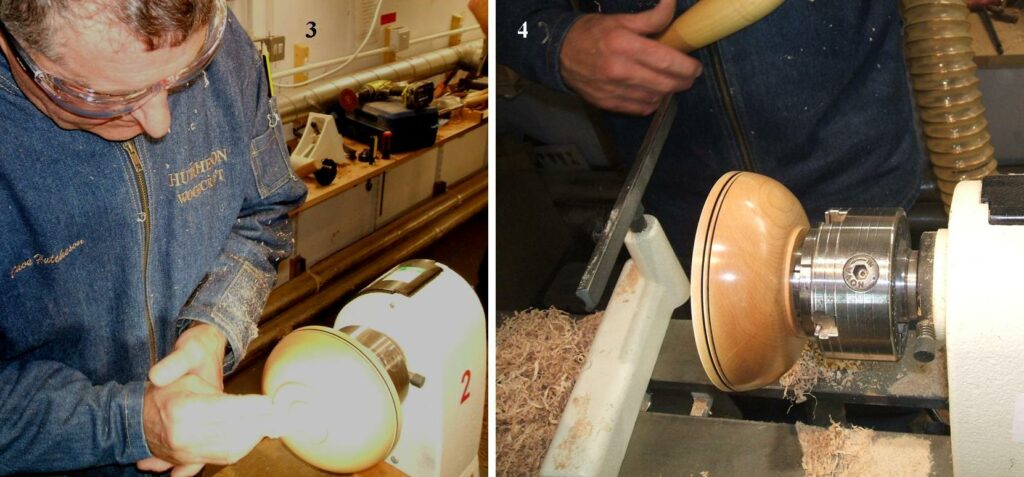
Picture 3, Dave is sanding the inside of his bowl. Picture 4, this view of the bowl shows the scorch lines Dave applied to his bowl, it also shows the high standard of finish Dave achieved on the outside, the inside would have the same quality of finish.
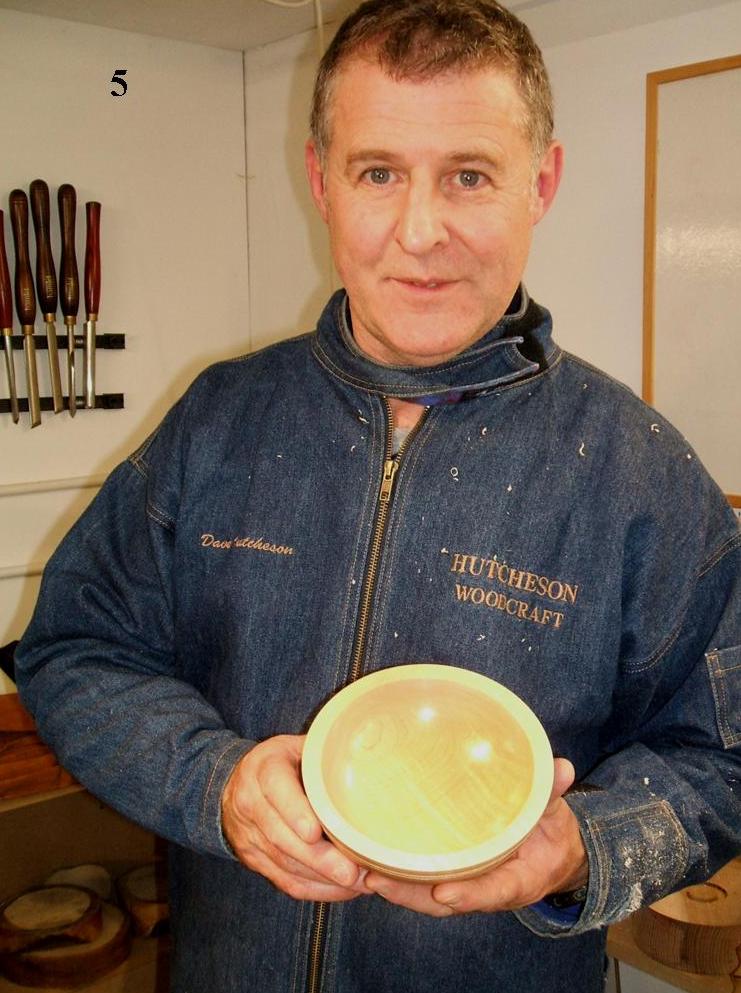
Picture 5, here is Dave Hutcheson with his finished bowl, well made with simple lines and no fuss, just a very nice bowl.
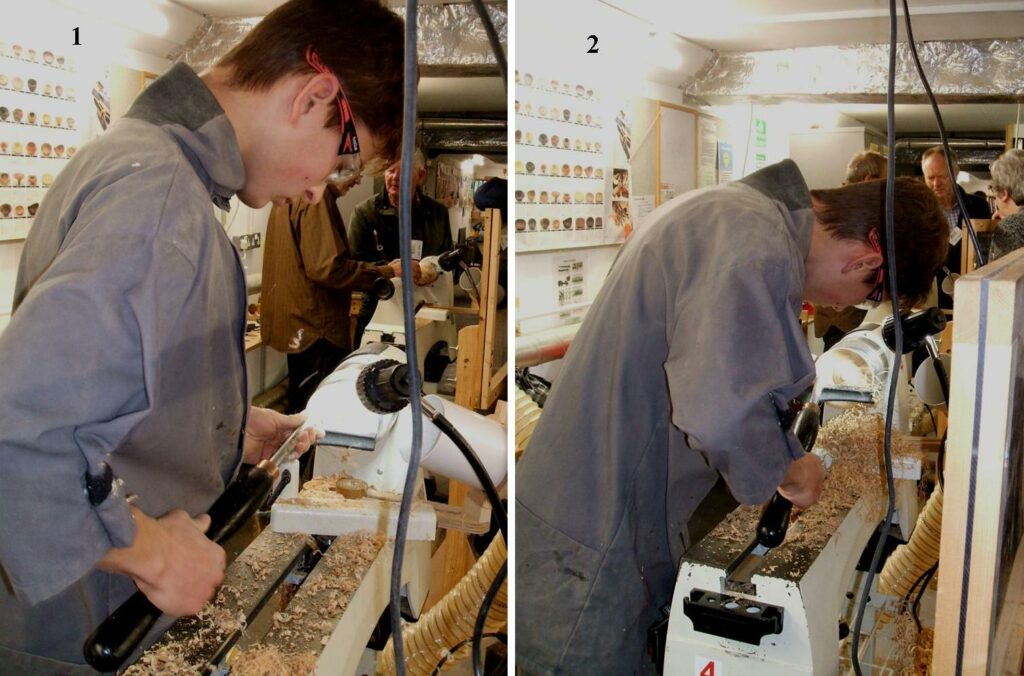
Picture 1, here we have Daniel Stewart, (one of our junior members) as he makes a start on his first bowl, Daniel was to make 2 small bowls in the session, this one was being made from a piece of Cherry. Picture 2, the inside of the first bowl almost complete, Daniel was making the bowl with very thin sides, 2 to 3 mm thick using his fingers as a guide to the thickness, quite a task for someone who is fairly new to woodturning.
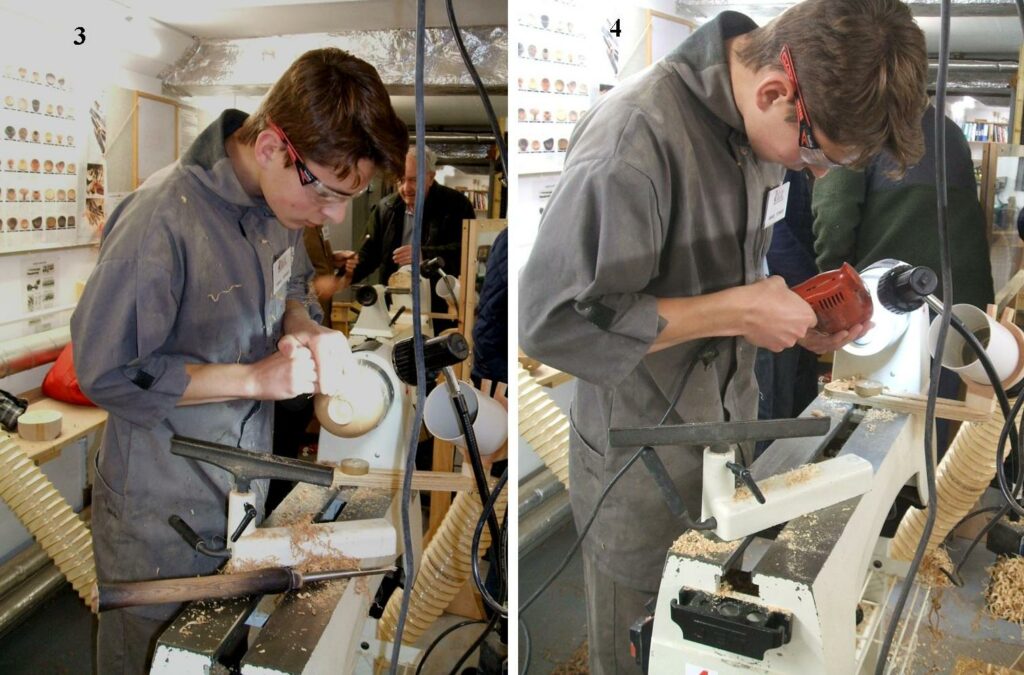
Picture 3, here Daniel is now working on the 2nd bowl, sanding the outside. Picture 4, the inside of the 2nd bowl being sanded, Daniel uses a mechanical sanding method for most of his sanding.
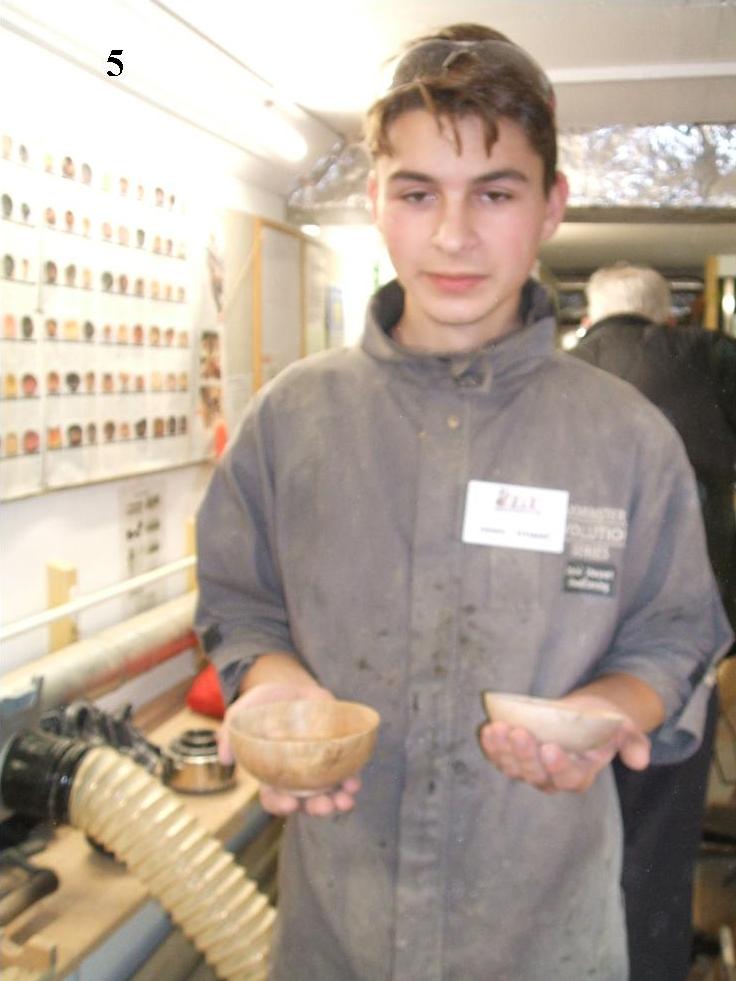
Picture 5, here is Daniel Stewart with his finished bowls, Cherry in his right hand and Birch in his left hand. (Apologies for the quality of the picture).
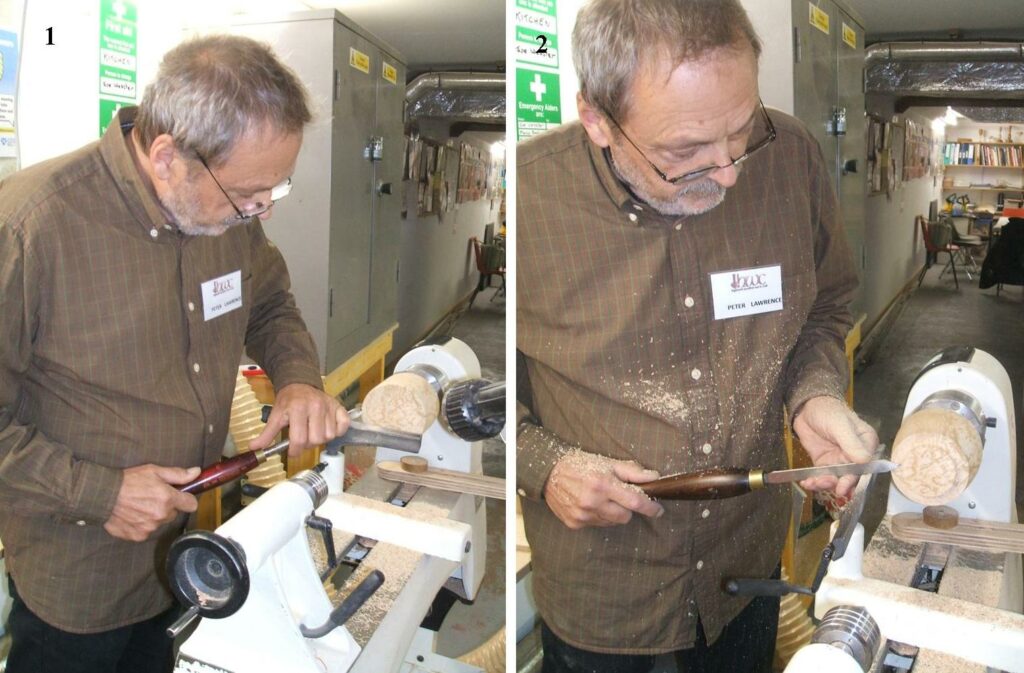
Picture 1, here we have Peter Lawrence as he makes a start on his project, Peter was using a piece of Spalted Birch that he was going to make into a small bowl. Picture 2, Peter can be seen working the bottom of his bowl, creating a spigot to go in the chuck.
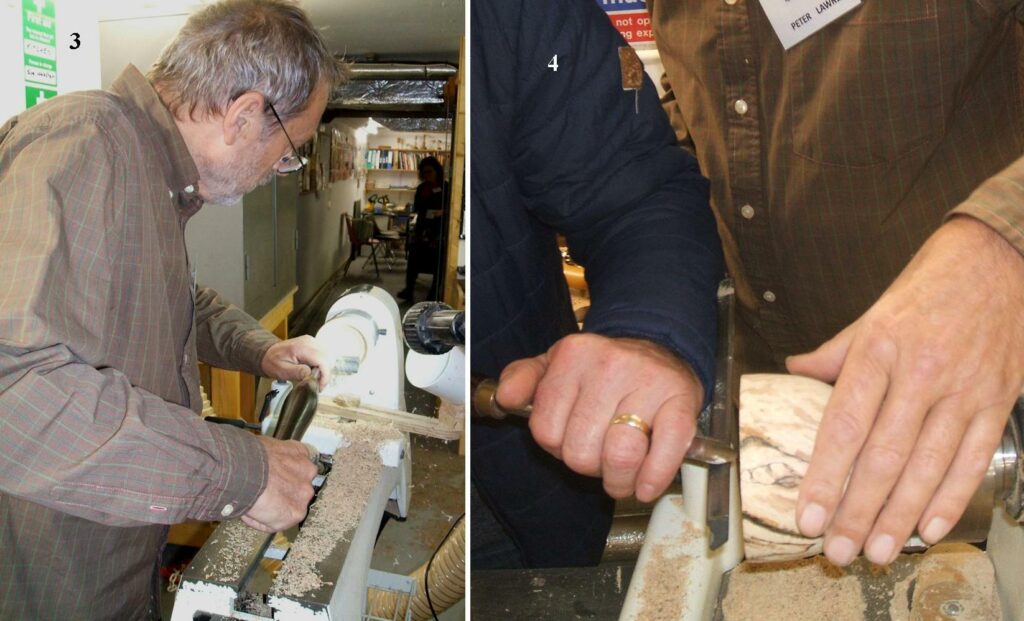
Picture 3, here Peter is now working on the inside of his bowl, he had a few issues with his blank, the Spalting had produced some softer areas that were a little troublesome for Peter and the was a small fissure that needed some super glue applied. Picture 4, one of our members (Julian Cox) giving Peter some advice by way of showing him exactly how it should be done, this is the great benefit of a club like this, there are always people there willing to help and give advice, so thank you to Julian for stepping in to help.
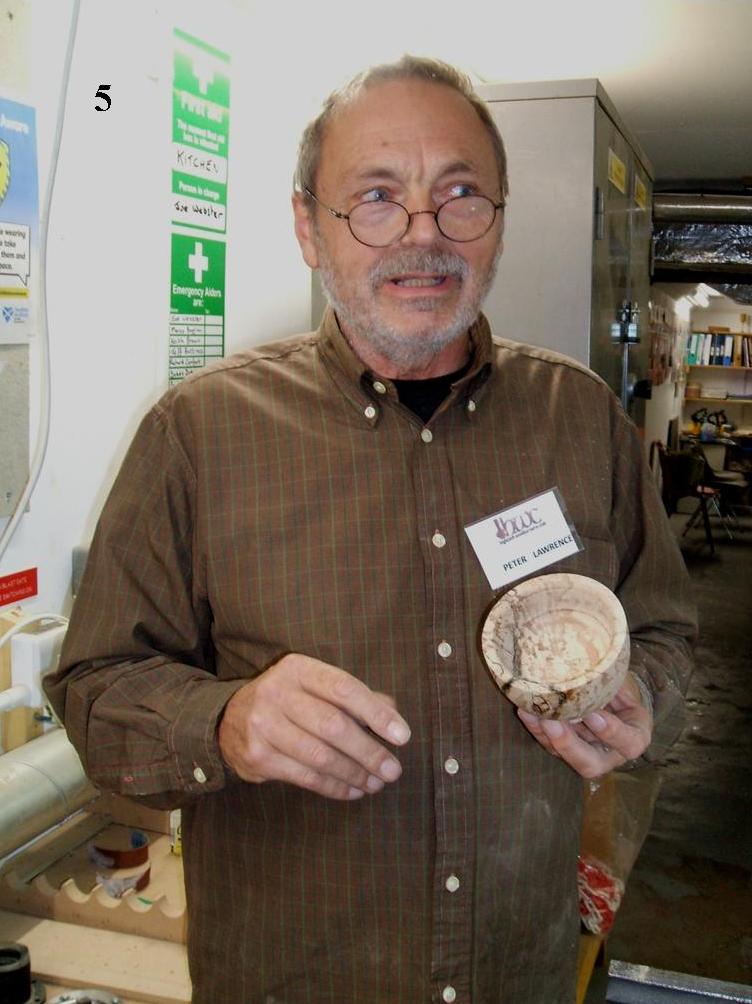
Picture 5, here is Peter Lawrence with his not quite finished bowl, he will go on to finish it at home, time defeated him but he acknowledged that he had learned a lot from this exercise.
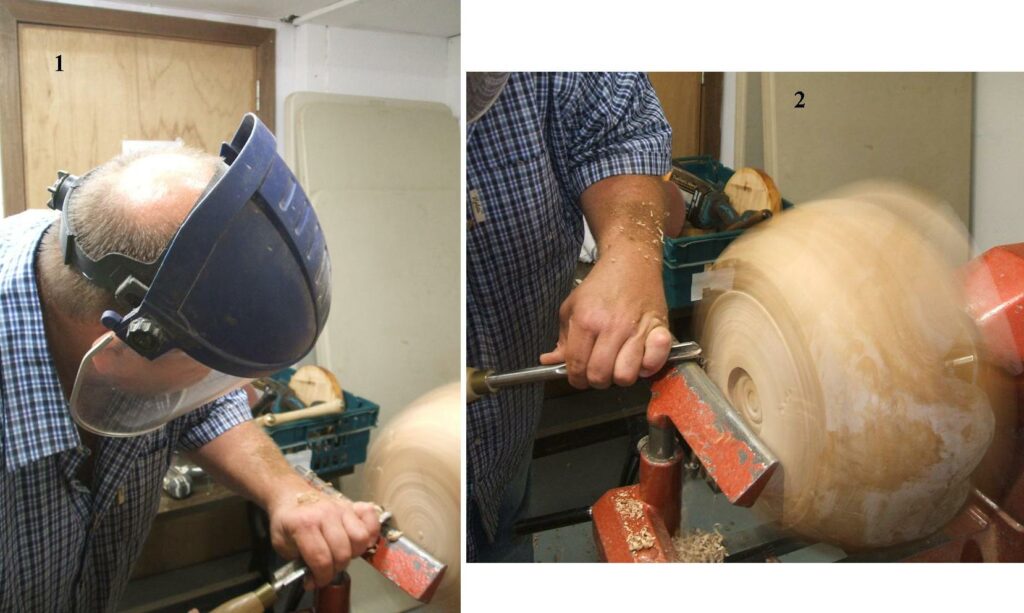
Picture 1, here we have Richard Comfort making a start on his very large Elm bowl. Picture 2, here Richard is working the base to create a foot and also the chuck recess, his intention is to leave the outside as natural as possible so very little turning will be done on the outside, the outside had several hollows that may feature more when the inside is being cut. The picture shows the ghosting effect that the uneven surface produces.
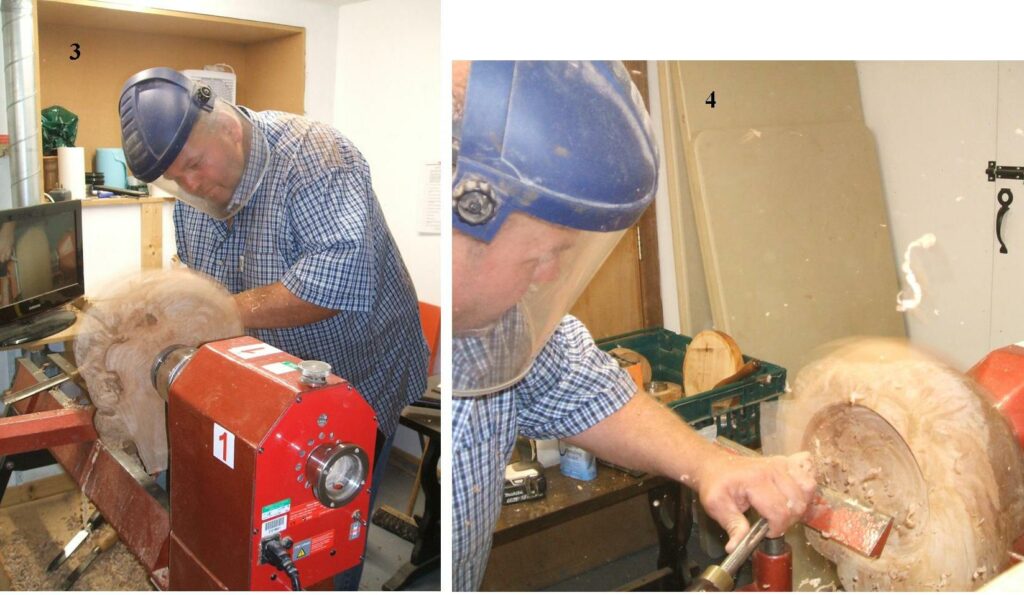
Picture 3, Richard is now working on the inside having taken very little off the outside, the ghosting can still be seen in this picture. Picture 4, the inside being worked, as this was a large piece of wood the turning on the inside is quite considerable, Richard was also conscious of the fact that some of the hollows on the outside may appear on the inside as he continued to deepen the inside, he did indeed create one penetration.
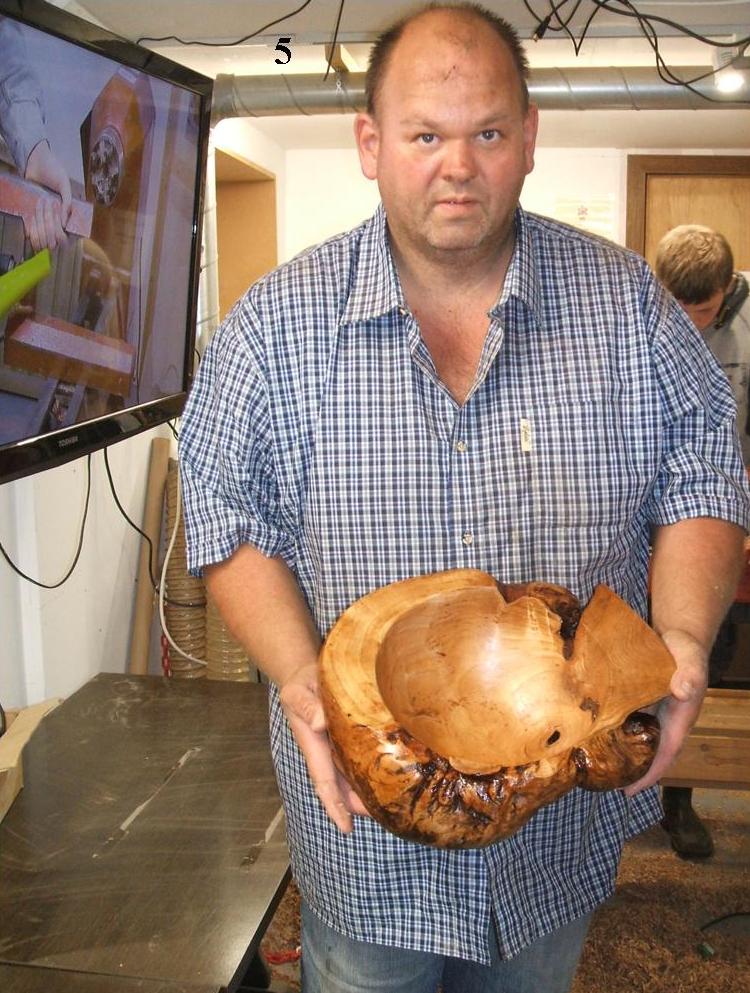
Picture 5, here we have Richard Comfort with his finished bowl, the extent of the natural edge can now been seen in all it’s glory.
That concludes the evenings work on bowl making, it was well received by all those members present and a show of appreciation was done for all those taking part in the demonstrations, a special thank you goes out to Dave Line for organizing the event.
Our next meeting is on the 26th October, it’s being organized by David Hobson, David has not set a theme, he will have all 5 lathes in operation making whatever they like. It should make for an interesting evening, hope to see you all there.
